
Concert, start to finish
From poster to encore.
Tickets, sales and the door — in one place.
- 1
First
Account
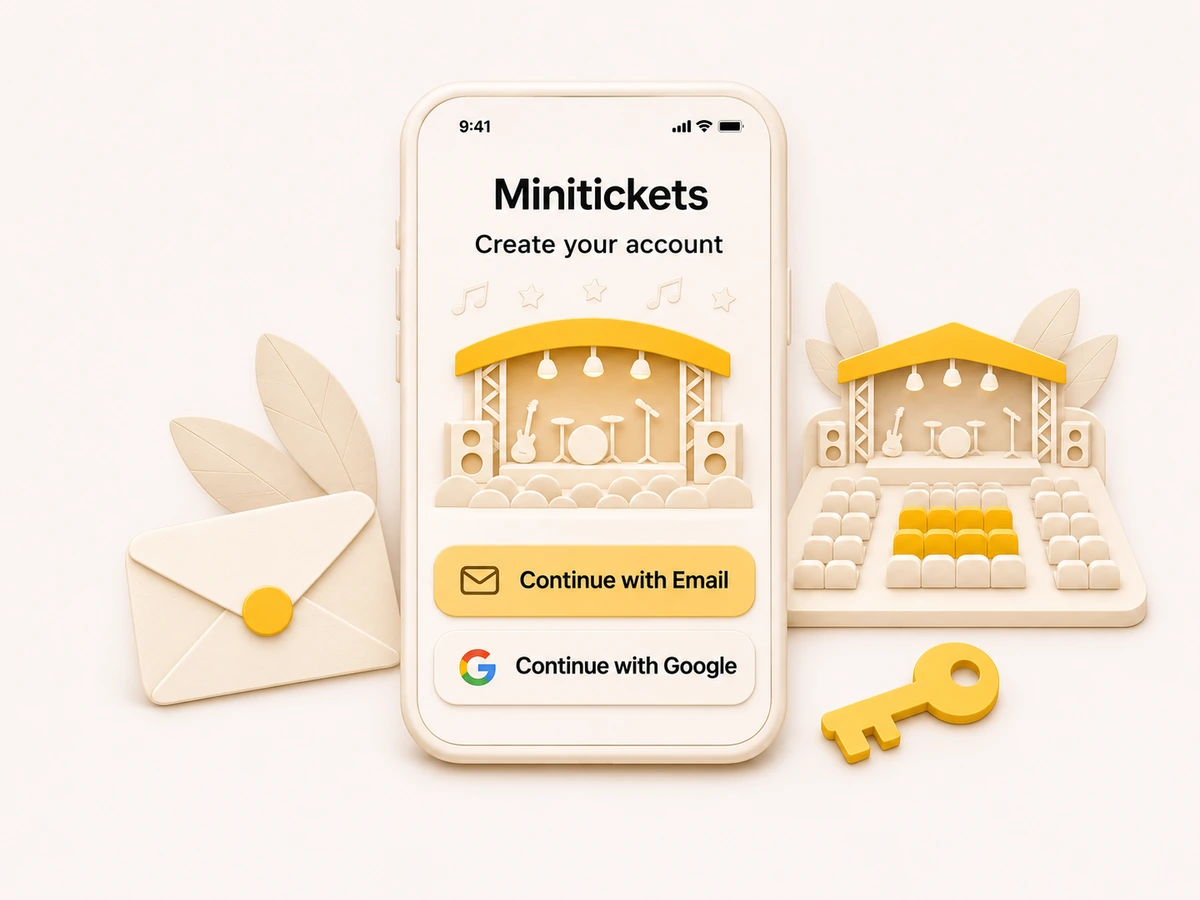
Sign up on Minitickets with your email or Google — it takes a minute. The same account runs all your events.
- 2
Before you sell
Stripe
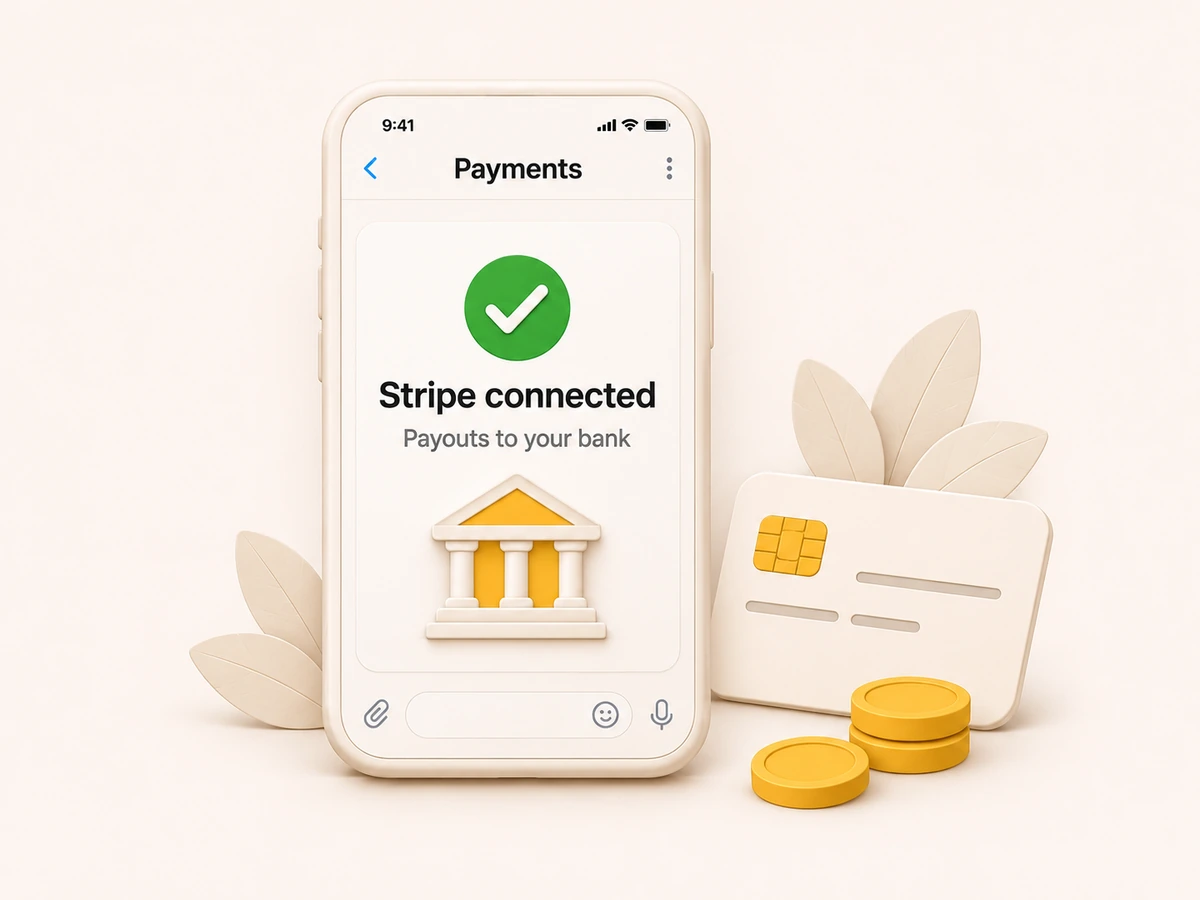
Connect your own Stripe account under Payments. Ticket money goes straight to you, and Stripe pays out to your bank.
- 3
2–3 months before
Plan
Pick the date and the venue, count the capacity and decide on your prices.

- 4
2 months before
Create the event
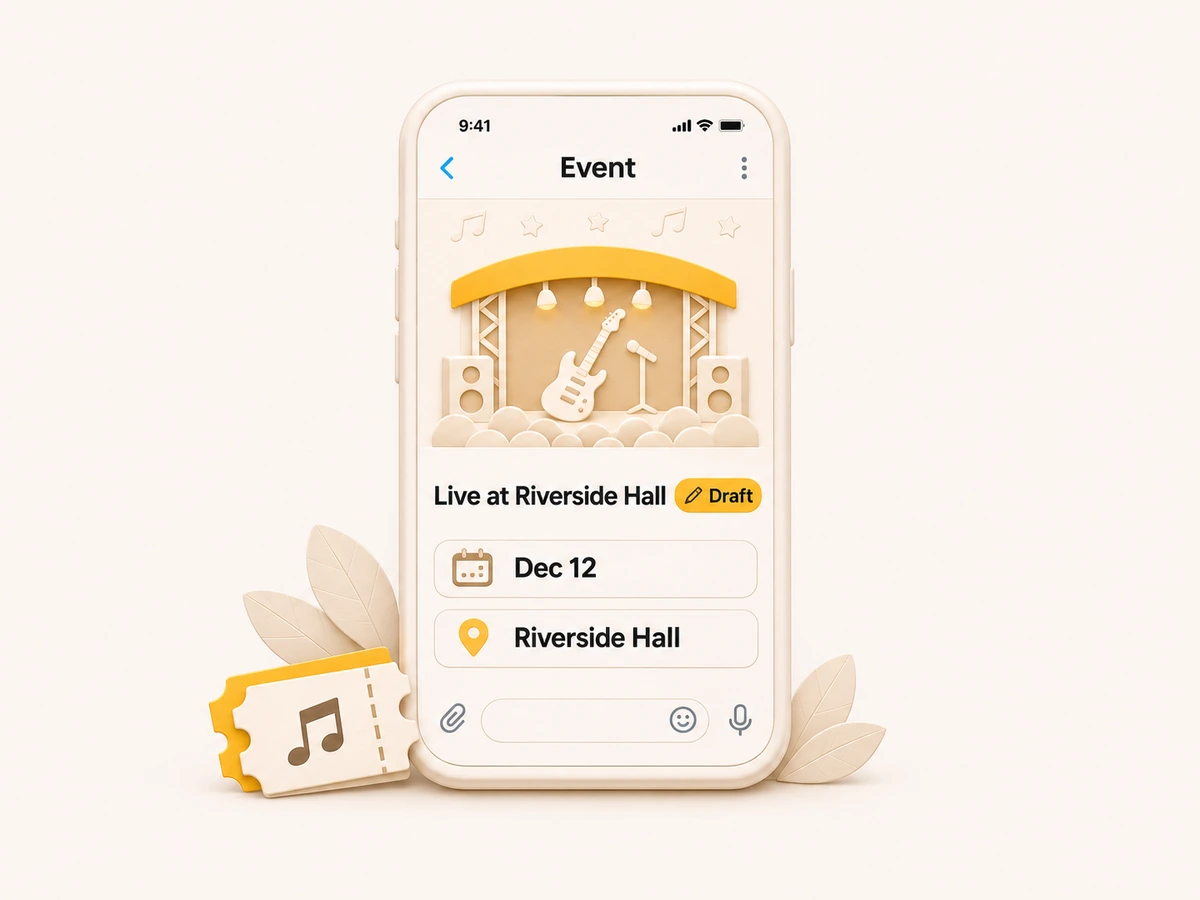
Title, date, venue, a cover and a few words about the show. It starts as a draft — only you and your team see it.
- 5
6–8 weeks before
Tickets
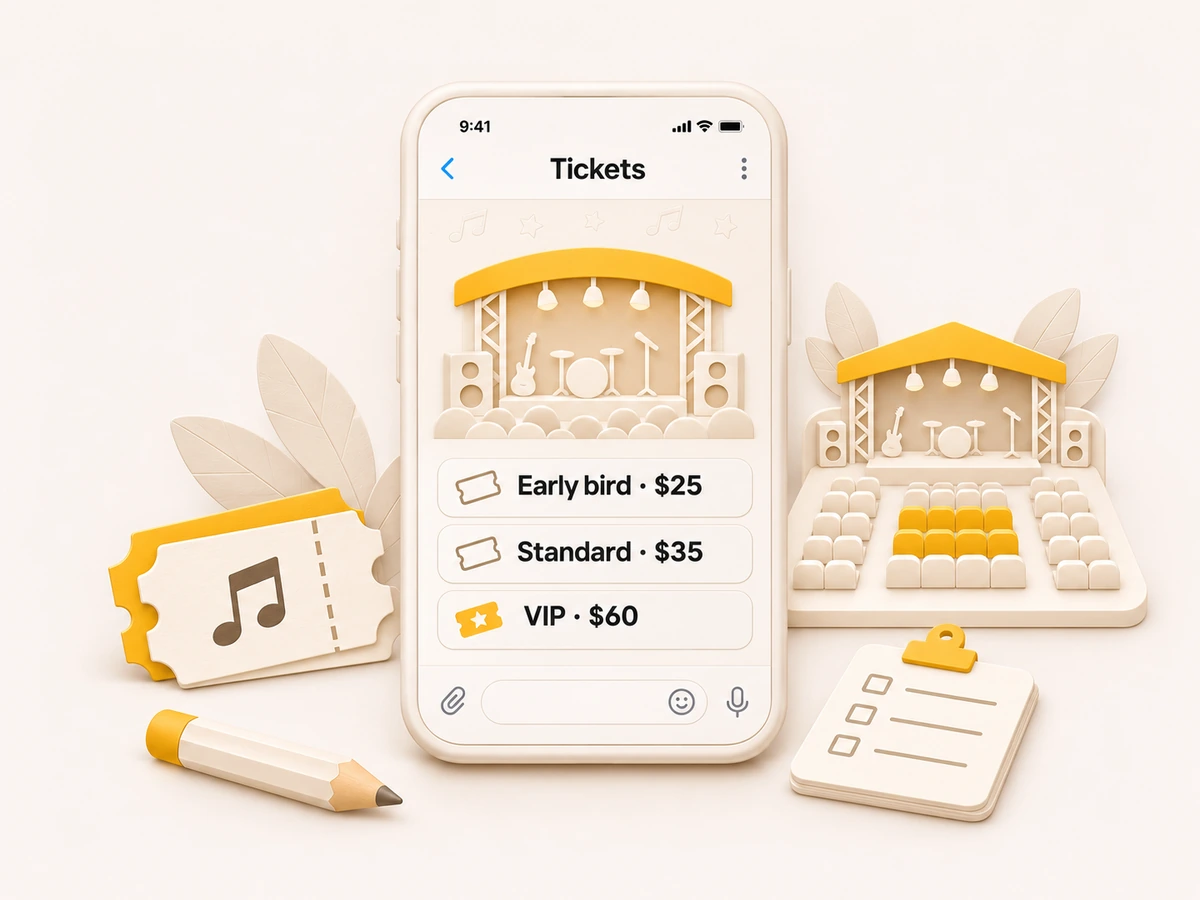
Ticket types like Early bird, Standard and VIP — or draw the hall and sell exact seats. Add promo codes.
- 6
6 weeks before
Publish
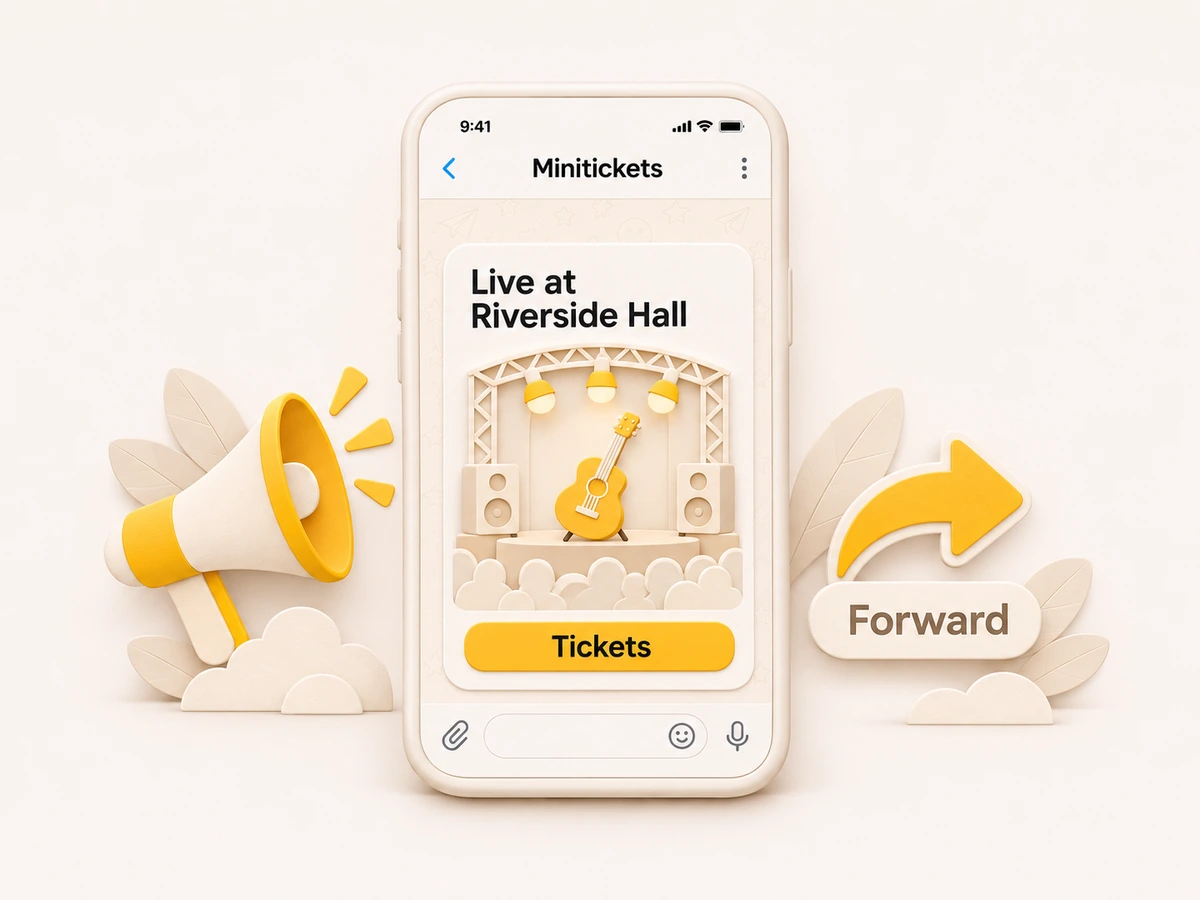
A public event shows up in the Minitickets feed and search. The bot sends you a ready post with a Tickets button — forward it to your channels.
- 7
Until the show
Sales
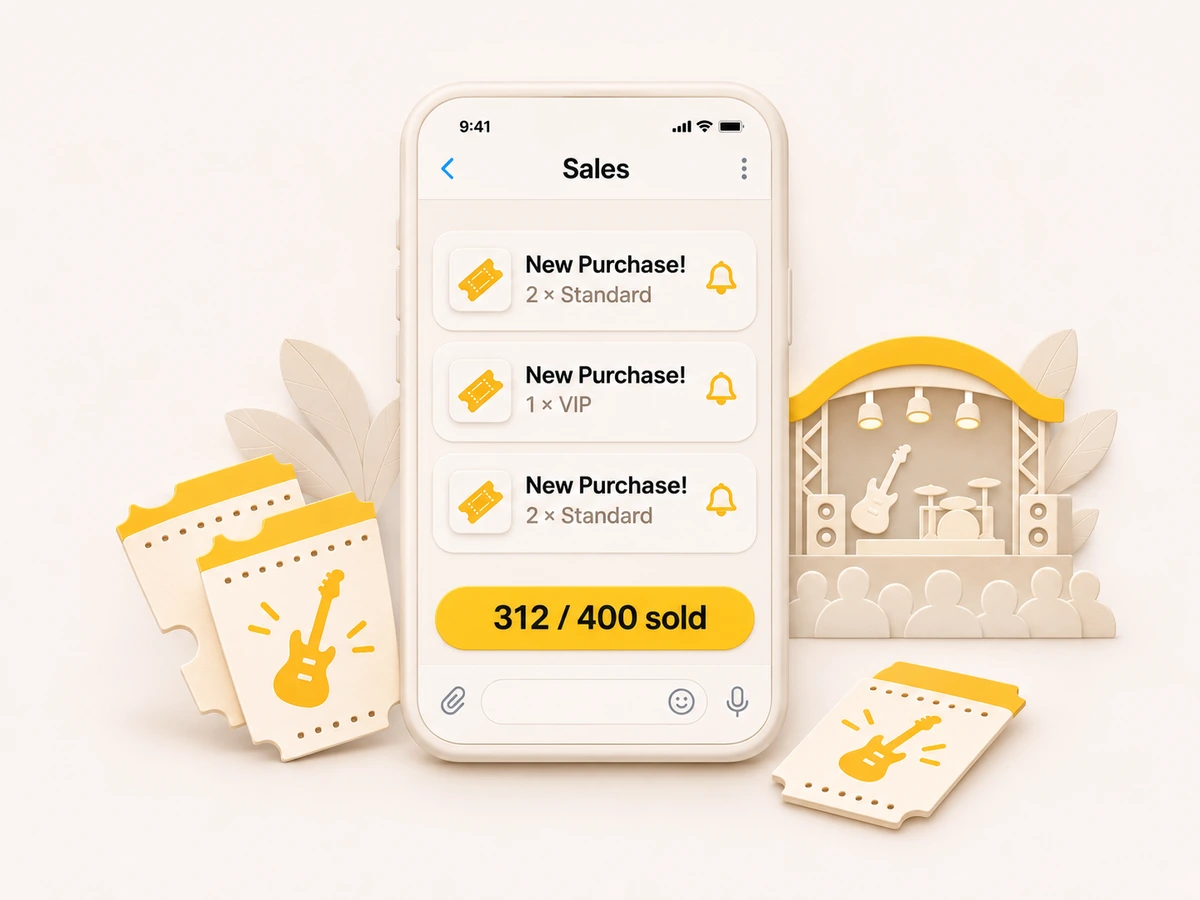
Fans pay the price on the poster — we add no fees, Apple Pay and Google Pay included. Every sale comes to your Telegram.
- 8
Show day
The door
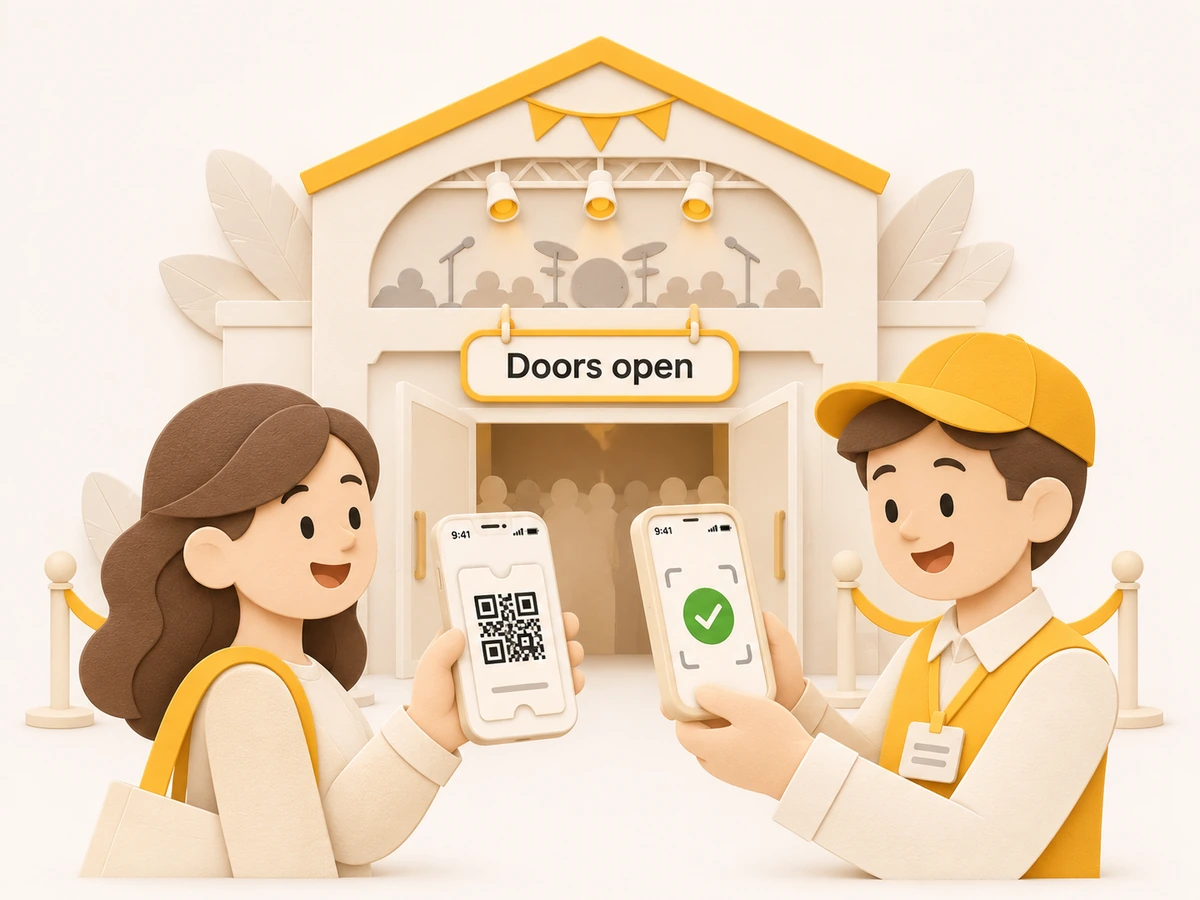
Scan tickets with phone cameras, on several phones at once. Give helpers the Scanner role — they can only check guests in.
- 9
After
Wrap up
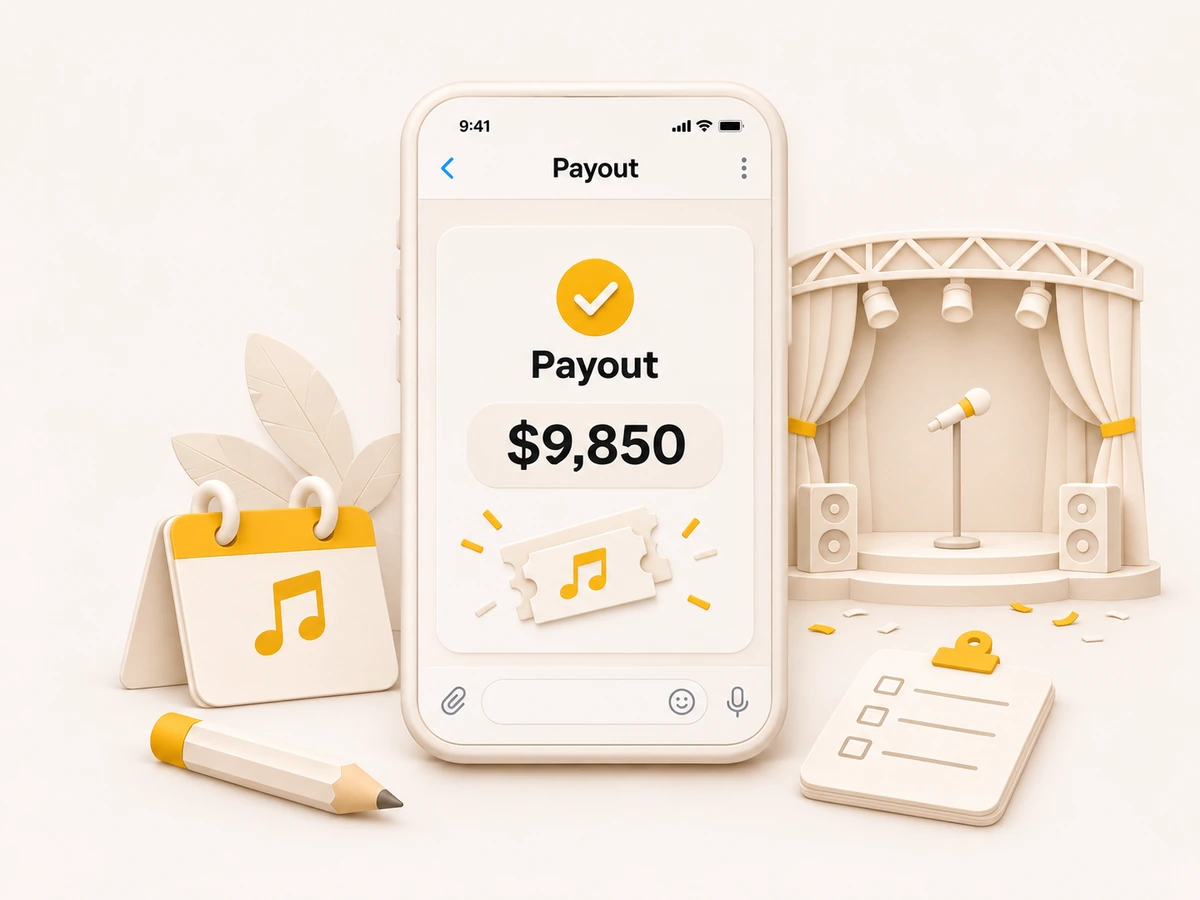
Money arrives in your bank through Stripe. Fans stay in your contacts — invite them to the next show.
Ready to announce your show?
Questions? Read the FAQ